Knowledge Base
How do I create an automation?
Hedgi enables creating personalized automations to streamline categorizing expenses based on your business needs. Follow these steps:
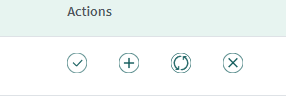
- Go to “Actions” tab under transactions
- Click the “+” button to start an automation
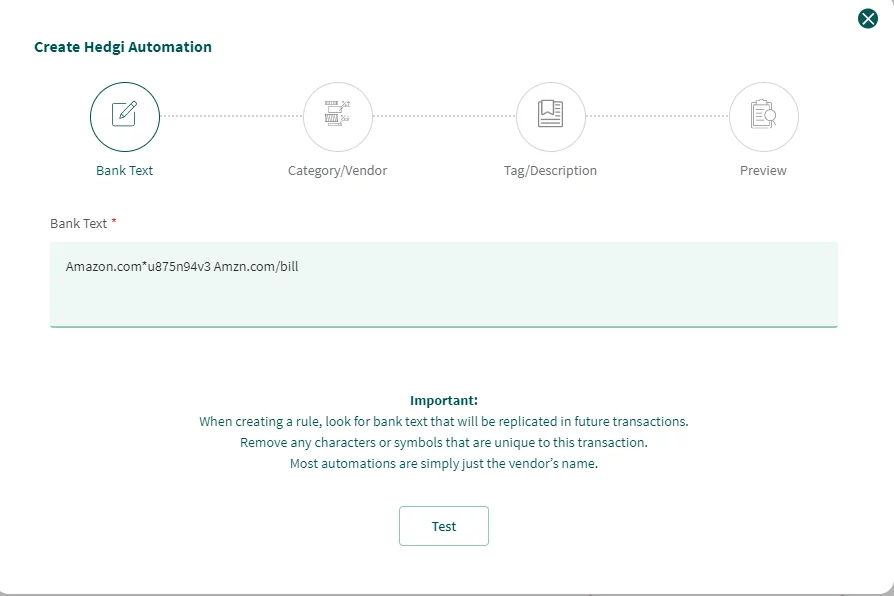
- Identify patterns in the bank text to target
- Remove unique details, keep only key terms
- Click “Test” and categorize the sample transactions
- Assign vendor and category to apply for matches
- Optional: Add tags or descriptions
- Review automation details carefully
- Click “Create Automation” to finalize
Now matching transactions will be automatically categorized using your custom criteria.
Benefits include:
- Automations tailored to your transactions
- More efficient categorization workflows
- Enhanced accuracy of expense data
- Streamlined financial management
Hedgi puts you in control of automation for smarter categorization. Create rules specific to your transactions for optimized business expense tracking.